
- Published on
Eddie Bowles AR Tour - Part One
A History Of Eddie Bowles
Eddie Bowles was a jazz musician who moved from New Orleans to Iowa about a century ago for work. He played with some of the greats in New Orleans around the turn of the century before making his way north, and was a successful musician who flew under the radar in small Cedar Falls, Iowa.
I received my undergrad in Cedar Falls at the University of Northern Iowa and maintain a few loose connections back to the university. After learning that the Hearst Center for the Arts would be putting on an exhibit about Eddie's life and history, I reached out to offer some help. A professor with Northern Iowa had some extra grant money to do something with technology to augment the exhibit. He was thinking specifically of using ARKit to do something fancy with Eddie, perhaps.
We batted around some ideas. There are a few locations in Cedar Falls pertinent to his life - places he busked with his guitar, playing late into the night. Where he worked. Other fun connections to local Cedar Falls history. We both decided that we could turn this into a self-guided walking tour.
Enter Mapbox
Mapbox is something I'll always find any excuse to play with. Runstrike uses mapbox extensively to display route information. It's awesome that they're based on openstreetmap data, and all their libraries just work extremely well.
I started experimenting with the Unity Mapbox Plugin. There were plenty of examples to get started with. I found that the Location-based game prefab was close enough to what I needed that I was able to pull that off the shelf and get going with only a few modifications. There are a few different emulation swap-ins for a Location Provider, file based and array based, so I grabbed a bunch of Cedar Falls lat longs and plugged them in. I was immediately heartened by the progress!
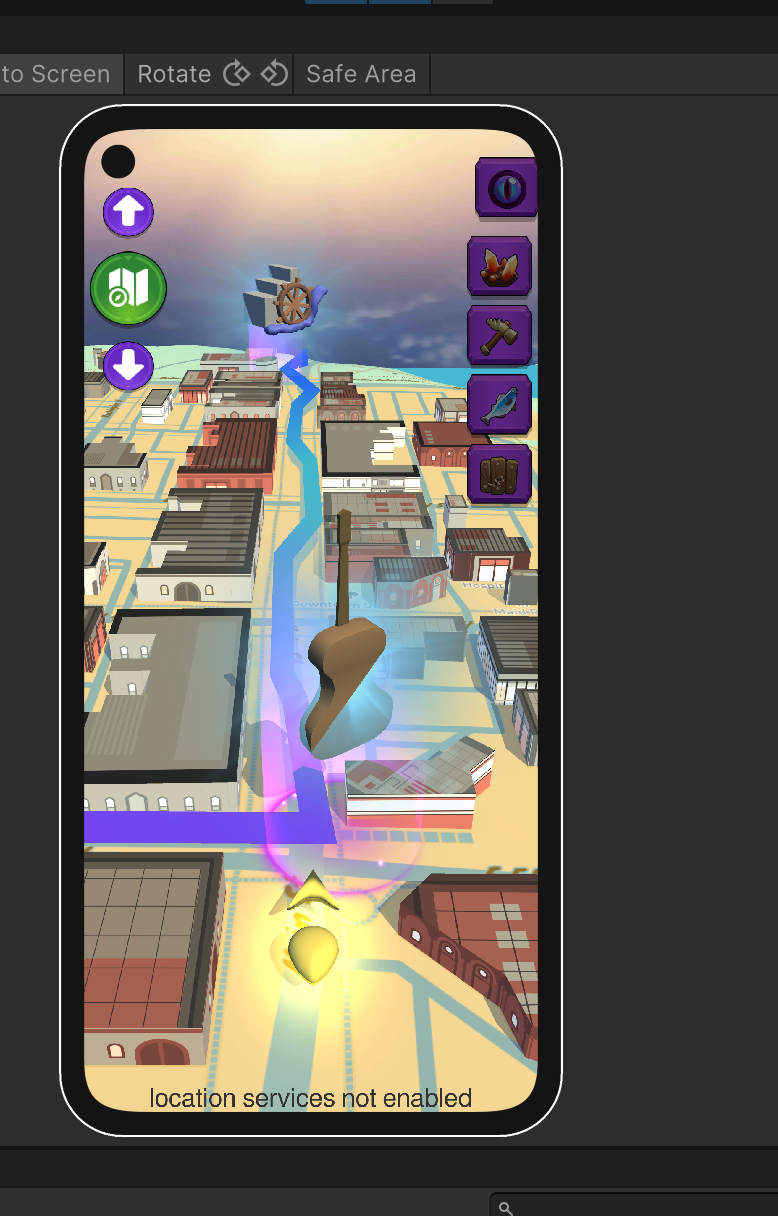
Zoom controls, then later, a follow cam
Zoom controls weren't too hard. I keep an array of positions - distance behind the player indicator, X rotation, and camera height. All three values are tweaked when zooming in and out - over the shoulder view needs to be a little closer to the player and quite a bit of X rotation, top down birds eye view needs no distance behind, no X rotation, just camera height. So I choose the right value out of the array and otherwise keep the camera following the player. Fairly straightforward - we just keep an eye on the player position via the camera's update loop, translate geo coord to Unity world x/y/z, and update the camera position. I also added a full zoom "map" - so you can get an idea of the entire area of the tour. Waypoints and such to come!
I waffled but eventually decided I did actually want the camera to also rotate with the player indicator. It is just the most natural way to look at a map while trying to sort out directions on your phone. It's the way a car GPS would work for a good reason. Mapbox comes with a script - RotateWithLocationProvider.cs which gets us really close, but I needed to reconcile it with my previous camera work. Particularly, if we are trying to keep the camera some distance behind the indicator, "behind" will change based on the player bearing!
I ended up combining a modified version of the mapbox script with my FollowCam.cs script. At the heart of the update loop we have these two lines -
transform.localPosition =
Vector3.Lerp(transform.localPosition, _targetPosition, Time.deltaTime * _updateFactor);
transform.localRotation =
Quaternion.Lerp(transform.localRotation, _targetRotation, Time.deltaTime * _updateFactor);
The rest of the location updates and zoom updates will change what we think of as the ideal "_targetRotation", then we continually lerp towards it for that smoothed look. On the topic of smoothing, the provided user location bearing was a little choppy. You can either choose the phone bearing or a heading based on previous location updates.
Neither was very satisfying, but I implemented some very simple smoothing on top (keeping a running average of the latest few rotation updates).
I also considered throwing out outliers but didn't go too far. I later learned that some of the underlying Mapbox scripts have some knobs to turn too, but this seems to work well enough to keep going.
Waypoints
Waypoints were very simple to implement in Unity! They are simply a few GameObjects that have Trigger Colliders. When the player indicator enters the trigger area, we register the hit and give the user the option to "claim" the area and receive more information. I have an ARPG kit that I used to find a glowey circle which made a great waypoint highlighter.
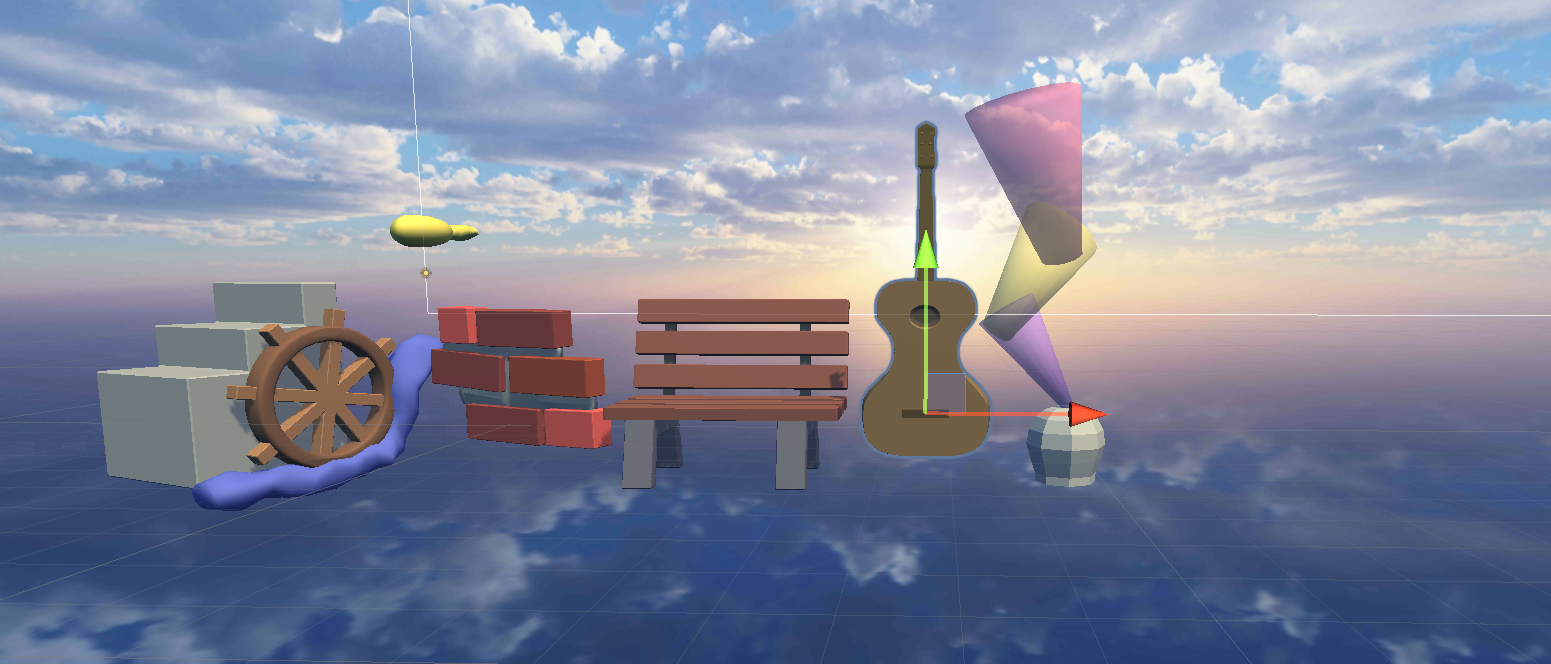
Back to Blender
Next up was replacing the orbs with little blender icons. I wanted spinning 3d icons to add some personality to the waypoints.
It's clear to me now that I've gotten rusty with blender at this point :grin:, but they'll do the job. If I have time I'll come back and polish them up.
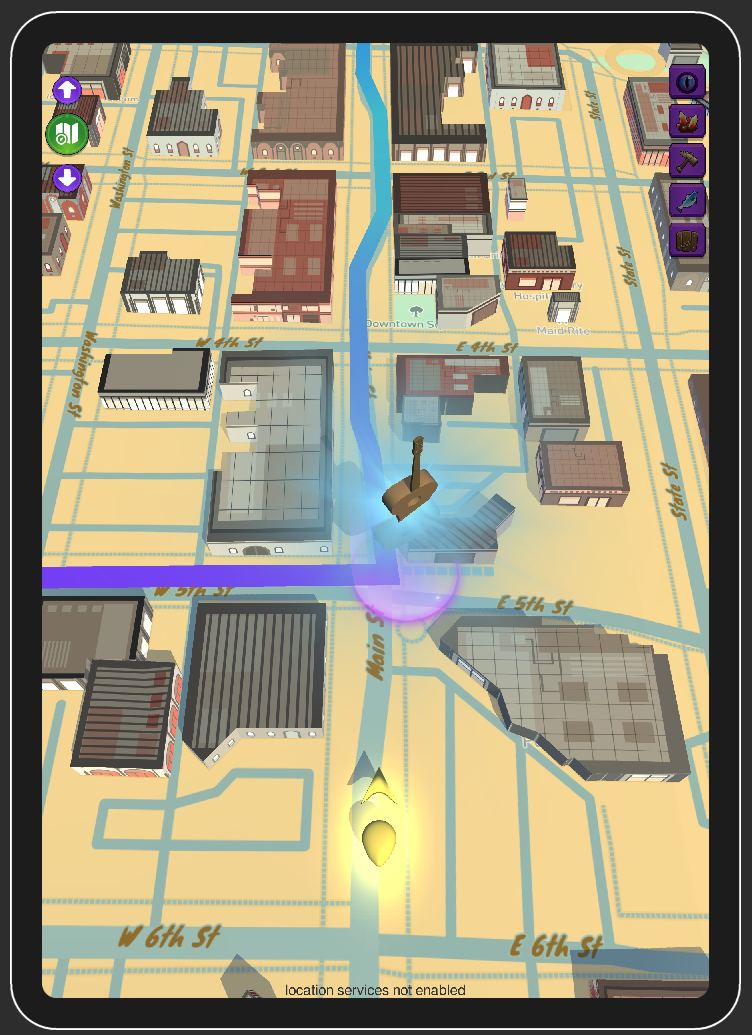
Tour Route
The tour theoretically starts at the museum, and the rest of the waypoints make a pretty obvious line out to the last waypoint just across the river from downtown, thankfully on a bike thoroughfare. So I added a LineRenderer to make it obvious where to go on the tour. It is a little dull - I experimented with a few app store plugins but nothing really panned out to make it much more interesting. But I intend on adding start/finish banners and perhaps even an arrow to make the thing look a bit more obvious.
You can see the tour line here take you to the guitar and head north -
The Rest
My goal is to make this app super simple. The controls tween out into the main area to show you exactly what to do when. Once you're finished, there will be a final information page explaining a few things - how to extend the bike ride, how to get more info on Eddie, ideally a link to a spotify playlist of his music. There are several other "cherry on top" tour ideas I've had, but right now I'm diverting to trying to get the bundle of work that I have right now into the app stores. Since this is a long and convoluted process with lots of back and forth, I wanted to get the jump on it early.
Stay tuned for diary entry #2 for the final result!